问答
发起
提问
文章
攻防
活动
Toggle navigation
首页
(current)
问答
商城
实战攻防技术
活动
摸鱼办
搜索
登录
注册
打造一款适合自己的扫描工具(二)
安全工具
基于mitmproxy结合python实现被动扫描脚本工具
0x01 简介 ======= 上一篇文章《打造一款适合自己的扫描工具》,主要介绍了一款主动漏洞扫描工具的实现原理和基础代码,那么本篇文章主要介绍一下被动扫描工具的实现。通过利用mitmproxy结合python代码实现访问操作的url的漏洞探测和识别。 代码地址:[https://github.com/get0shell/AScan\_B.git](https://github.com/get0shell/AScan_B.git) 0x02 实现思路 ========= 1)实现http/https请求数据包拦截,并提取拦截数据包中url 2)识别并提取url中参数的值,将其替换为测试payload 0x03 开发实战 ========= 本次开发主要流程按照目标便分为两步,第一为数据包拦截,并提取url,因此可以称为数据获取模块;第二为识别url中参数,并将值替换为payload,因此可以称为数据处理模块。 3.1 数据获取模块 ---------- ### 3.1.1 mitmproxy简介 mitmproxy 是一组工具,为 HTTP/1、HTTP/2 和 WebSockets 提供交互式、支持 SSL/TLS 的拦截代理。官网:<https://mitmproxy.org/> **特征:** - 拦截 HTTP 和 HTTPS 请求和响应并即时修改它们 - 保存完整的 HTTP 对话以供以后重放和分析 - 重放 HTTP 会话的客户端 - 重放先前记录的服务器的 HTTP 响应 - 反向代理模式将流量转发到指定服务器 - macOS 和 Linux 上的透明代理模式 - 使用 Python 对 HTTP 流量进行脚本更改 - 用于拦截的 SSL/TLS 证书是即时生成的 **核心工具:** **mitmproxy**是一个交互式、支持 SSL/TLS 的拦截代理,具有用于 HTTP/1、HTTP/2 和 WebSockets 的控制台界面。 **mitmweb**是 mitmproxy 的基于 Web 的界面。 **mitmdump**是 mitmproxy 的命令行版本。 **工具安装:** mitmproxy安装可以直接在官网进行下载并安装使用,当然也可以直接安装python包进行使用。本次开发使用python便可以,具体安装方法如下: ```python linux: pip3 install mitmproxy windows: pip3 install mitmproxy ``` 那么本次开发主要使用 mitmdump,因此其他操作或者能力大家可以去官网去了解,功能也是非常的强大。 ### 3.1.2 **mitmdump数据拦截** 利用pip安装完成mitmproxy后还需要进行证书的安装,安装证书之后便可以进行https数据包的拦截,这和其他代理抓包工具操作是一样的。 访问该url,并下载对应的证书 ```python http://mitm.it/ ``` 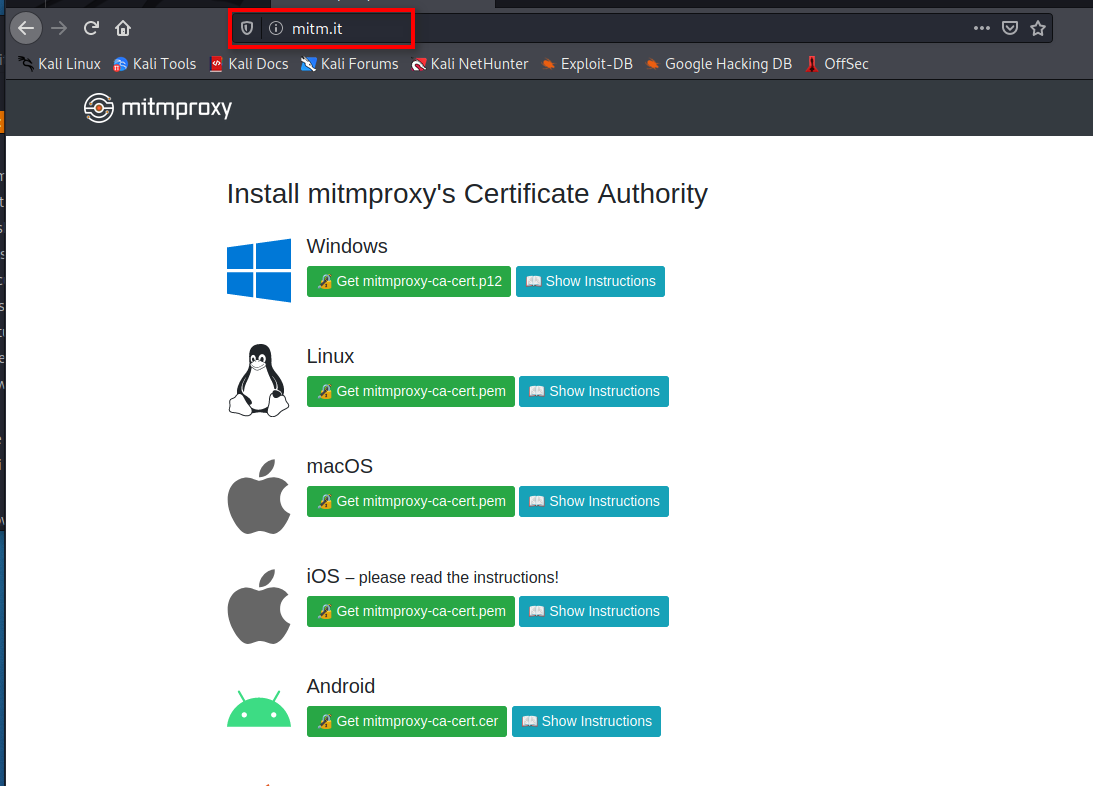 导入浏览器便可 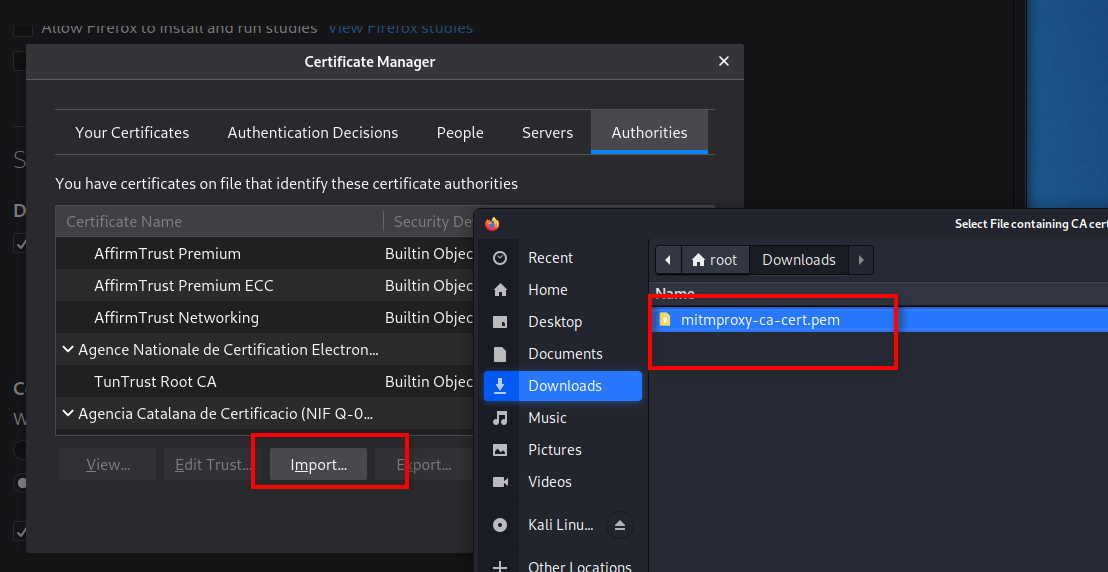 mitmproxy默认拦截端口为8080,因此在浏览器设置对应的代理  ```python 启动: mitmdump ``` 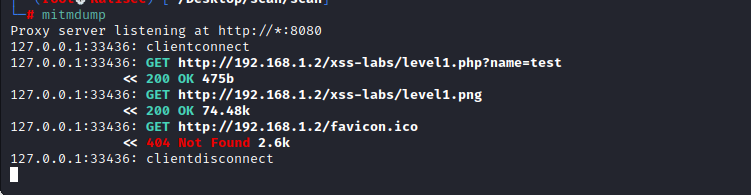 可以看到已经成功拦截到请求数据包信息。 编写python脚本,实现url的获取并打印,这块需要导入mitmproxy中的ctx,即日志模块,专门用来输出。 ```python from mitmproxy import ctx def request(flow): # 获取请求对象 request = flow.request # 实例化输出类 info = ctx.log.info # 打印请求的url info(request.url) ``` 利用mitmdump启动python脚本,成功打印拦截到的url ```python mitmdump -s miti.py ``` 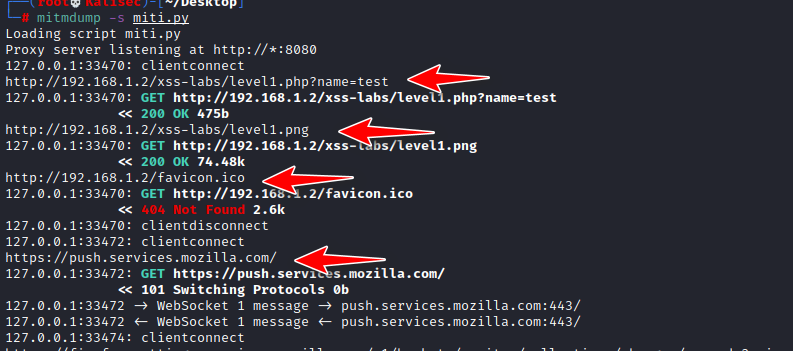 通过上述脚本可以看出url即为flow.request.url。上面通过ctx模块打印的url,接下来利用python中print进行打印输出。 ```python def request(flow): request = flow.request print(request.url) ``` 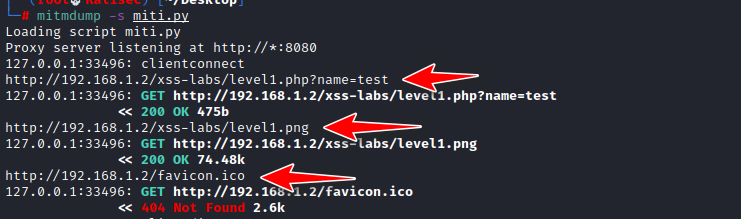 3.2 数据处理模块 ---------- 通过数据获取模块中mitmproxy结合python脚本成功拦截到请求的url,那么接下来首先需要对url中的参数的值进行提取,具体正则匹配如下 ```python 从=开始向后匹配 (?<==) ``` 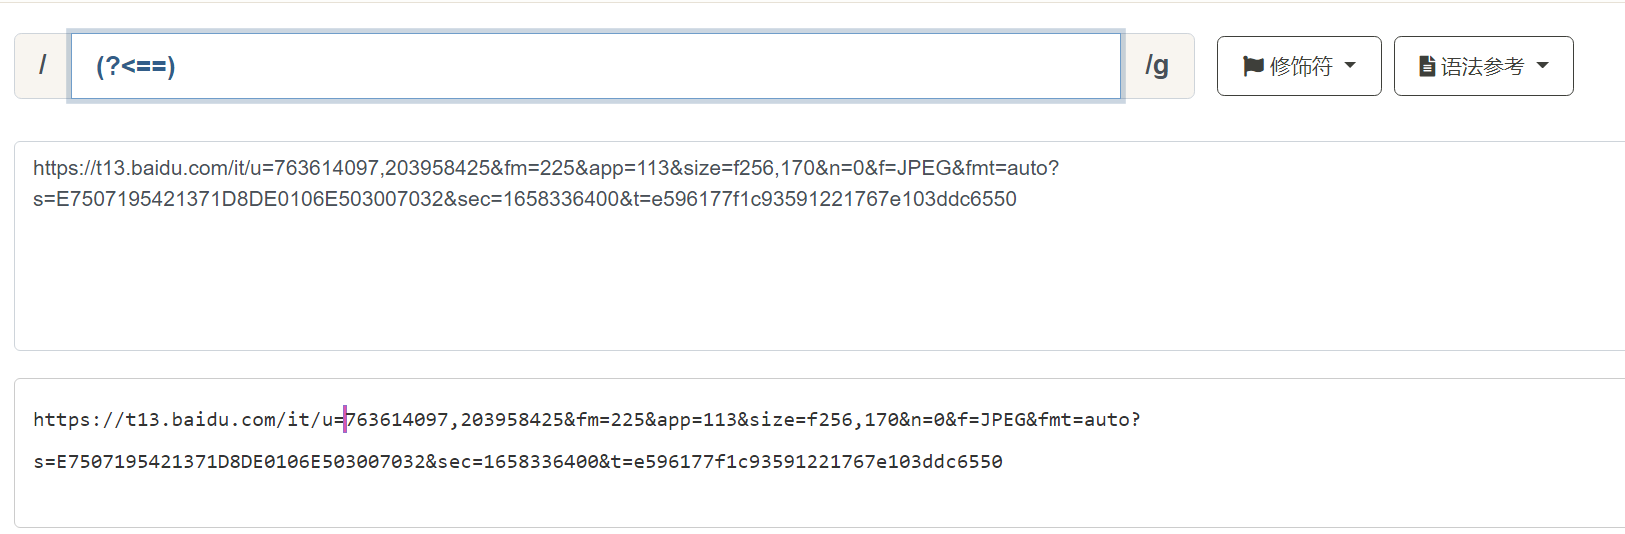 ```python 从&向前匹配 ([^&]*) ``` 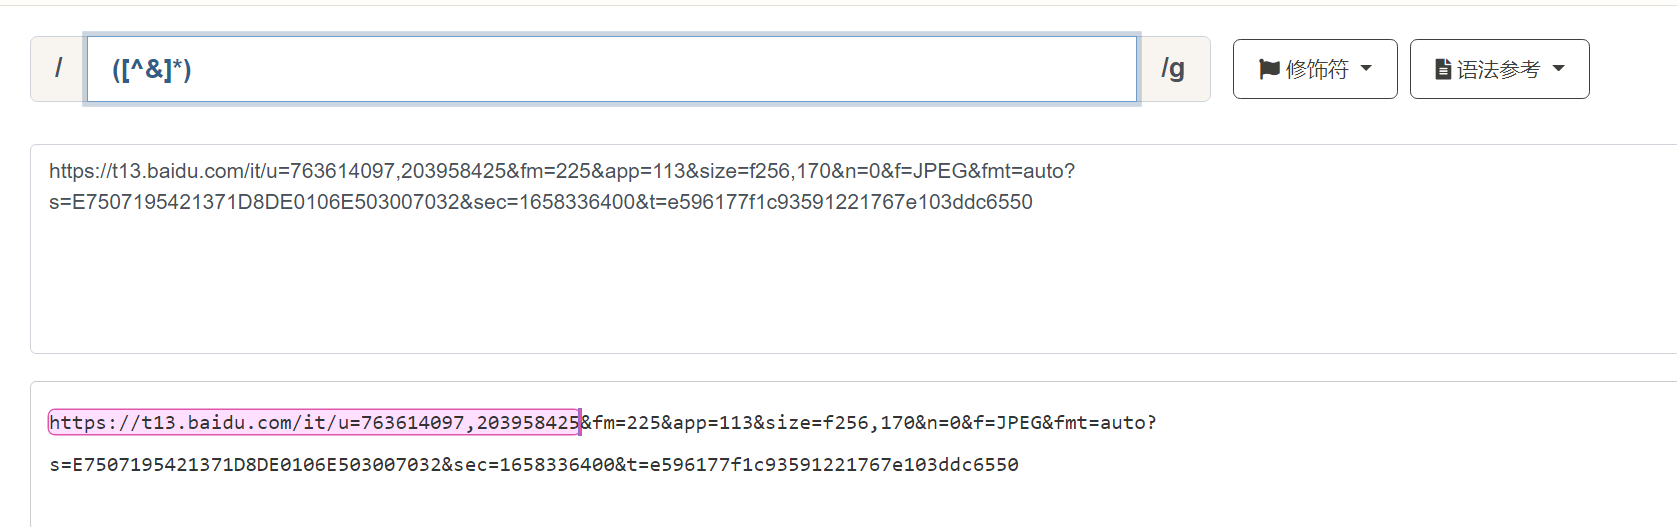 ```python 匹配=以后&之前的内容,即url中参数的值 (?<==)([^&]*) ```  接下来python代码实现url中参数值的匹配以及替换 ```python import re def request(flow): request = flow.request url=request.url u=re.sub("(?<==)([^&]*)",'xxxxxxx',url) print(u) ``` 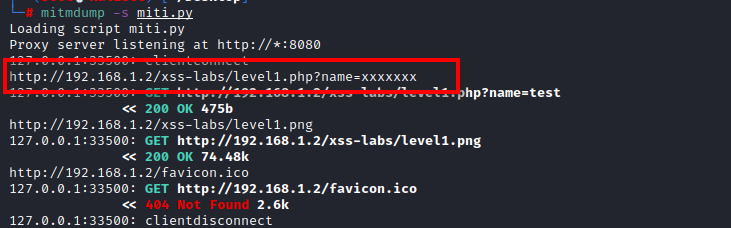 可以看到url中name的值已经成功被替换,那么接下来的逻辑就和主动扫描工具中的漏洞检测逻辑一样了,只需要提取poc中的payload进行请求,针对响应内容进行检测是否成功。 根据自己测试扫描的重点进行对应poc文件的编写,程序以json文件为固定文件格式。具体poc的json文件格式如下: ```json { "name": "xss注入漏洞", "payload": "\"><ScRiPt>alert(98760);</ScRiPt>", "res": "(\\S)ScRiPt(\\S)alert(\\S){2}98760(\\S){5}ScRiPt(\\S)" } ``` 利用poc文件编写漏洞检测方法,并将检测结果进行保存。具体代码如下: ```python def scan(url): header = { "User-Agent": "Mozilla/5.0 (Windows NT 10.0; Win64; x64; rv:99.0) Gecko/20100101 Firefox/99.0", } pathDir = os.listdir('../plug/vul/') for allDir in pathDir: p = os.path.join('../plug/vul/' + allDir) try: with open(p, 'rt', encoding='utf-8') as f: json_data = json.load(f) u=re.sub("(?<==)([^&]*)",json_data['payload'],url) response = requests.get(u, headers=header) i = re.search(json_data['res'], response.text) if i: print('[+] 存在漏洞:' + json_data['name']) print(u) with open('../result/report.txt','at') as f: f.writelines(u+'\n') except Exception as e: pass ``` 那么接下来将url传入scan方法中,便可以实现完整的漏洞检测了,具体代码如下: ```python import requests import re import json import os def request(flow): request = flow.request url=request.url scan(url) def scan(url): header = { "User-Agent": "Mozilla/5.0 (Windows NT 10.0; Win64; x64; rv:99.0) Gecko/20100101 Firefox/99.0", } pathDir = os.listdir('../plug/vul/') for allDir in pathDir: p = os.path.join('../plug/vul/' + allDir) try: with open(p, 'rt', encoding='utf-8') as f: json_data = json.load(f) u=re.sub("(?<==)([^&]*)",json_data['payload'],url) response = requests.get(u, headers=header) i = re.search(json_data['res'], response.text) if i: print('[+] 存在漏洞:' + json_data['name']) print(u) with open('../result/report.txt','at') as f: f.writelines(u+'\n') except Exception as e: pass ```  那么可以看到检测结果中成功打印输出了检测成功的提示以及对应请求url。 最后再针对该扫描方法的调用进行优化,实现多线程扫描,具体代码如下: ```python import requests import re import json import threading import os def request(flow): request = flow.request url=request.url mutex = threading.Lock() for i in range(2): t = threading.Thread(target=scan, args=(url, mutex)) t.start() def scan(url,t): t.acquire() header = { "User-Agent": "Mozilla/5.0 (Windows NT 10.0; Win64; x64; rv:99.0) Gecko/20100101 Firefox/99.0", } pathDir = os.listdir('../plug/vul/') for allDir in pathDir: p = os.path.join('../plug/vul/' + allDir) try: with open(p, 'rt', encoding='utf-8') as f: json_data = json.load(f) u=re.sub("(?<==)([^&]*)",json_data['payload'],url) response = requests.get(u, headers=header) i = re.search(json_data['res'], response.text) if i: print('[+] 存在漏洞:' + json_data['name']) print(u) with open('../result/report.txt','at') as f: f.writelines(u+'\n') except Exception as e: pass ``` 0x04 结语 ======= 那么通过以上代码的编写,成功完成了一个基于mitmproxy结合python代码实现被动漏洞扫描脚本工具的开发,代理的端口都是可以修改,也是可以和主动扫描脚本进行结合使用,只需要不断优化poc文件就可,那么通过该思路和方法便可以根据不同的需求打造出一款适合自己的被动式漏洞检测工具。
发表于 2022-08-05 09:54:50
阅读 ( 10813 )
分类:
安全工具
5 推荐
收藏
0 条评论
请先
登录
后评论
阿蓝
7 篇文章
×
发送私信
请先
登录
后发送私信
×
举报此文章
垃圾广告信息:
广告、推广、测试等内容
违规内容:
色情、暴力、血腥、敏感信息等内容
不友善内容:
人身攻击、挑衅辱骂、恶意行为
其他原因:
请补充说明
举报原因:
×
如果觉得我的文章对您有用,请随意打赏。你的支持将鼓励我继续创作!